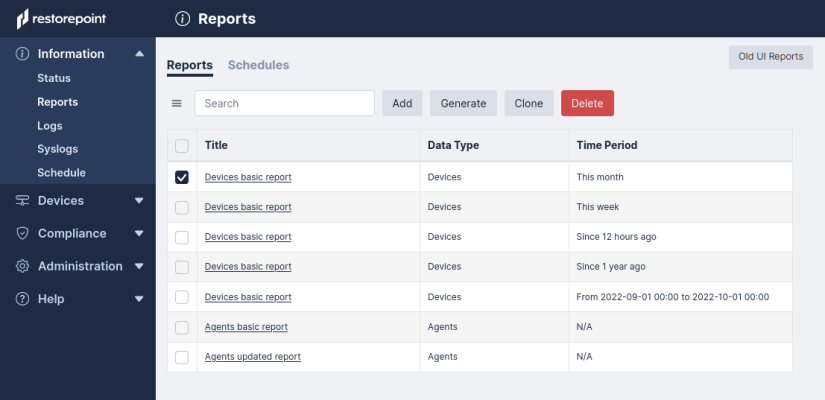
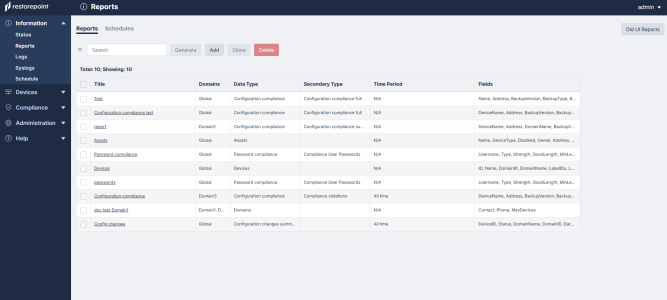
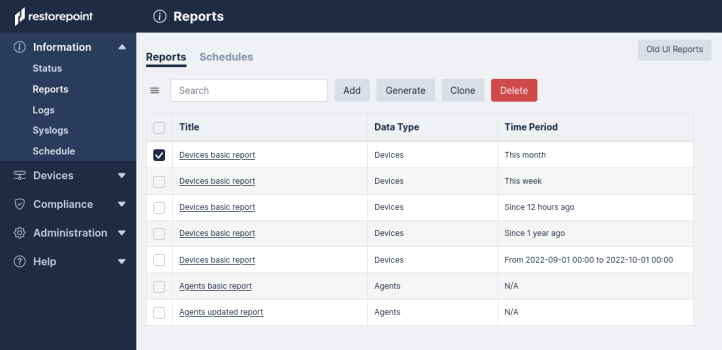
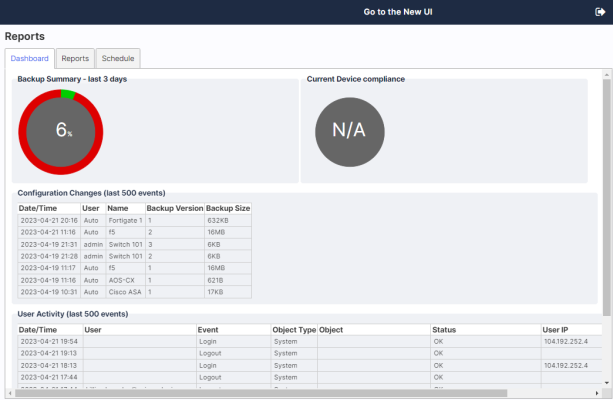
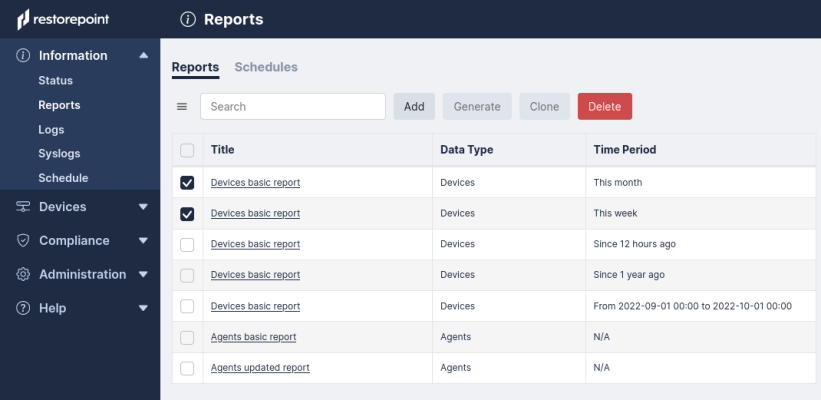
This chapter describes how you can perform a multitude of report-related functions in Skylar Compliance (formerly Restorepoint). The Reports page (Information > Reports) primarily allows you to add, generate, and schedule reports to your set specifications. However, you can also clone and delete reports/report schedules for better data refinement. You can select multiple individual reports, also called multireports, on this page. The check-boxes located to the left of the listed reports and schedules allow you to multiselect.
Adding a Report
You can add reports that provide device data suited to your selected fields.
To add a new report:
-
Go to the Reports tab (Information > Reports) and click .
-
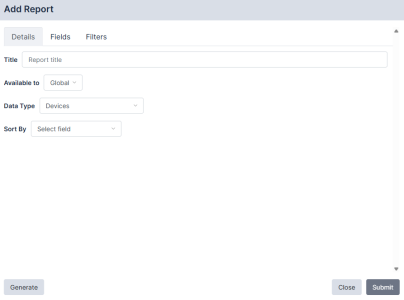
The Add Report modal appear. Complete the following field on the tab:
- Title. Enter your report's title.
- Available to Domains. Select the domains to which you want the report shared.
- Data Type. Select your report data type.
- Sort by. Determine which column field that the generated table on your report will be sorted by.
- On the tab, select the check boxes for the data fields you want to appear in the report.
- On the tab, click to add the filters you want on your report. Select your Plugin (=), Label (=), and their associated plugins/labels. Filters limit, or exclude, a specific Domain, Location, Device Type, or Device. A device must match all filters to be included in the report; there are a wide range of combinations that can be met for your report.
- Click to add the report. Your report will appear in the Report page list.
Editing a Report
You can edit existing reports to reflect any report updates that come after creation or perform additional report functions.
To edit a report:
-
Click the Reports (Information > Reports) tab and select your Report Title from the Reports list to edit that specific report.
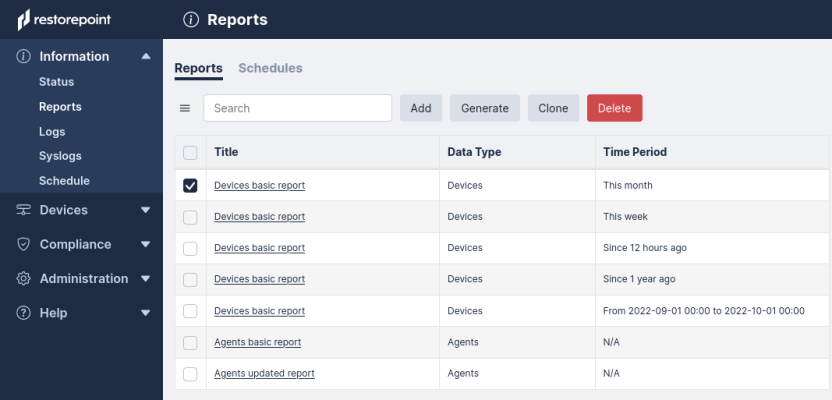
-
The Edit Report modal appears. Update the fields you want to edit:
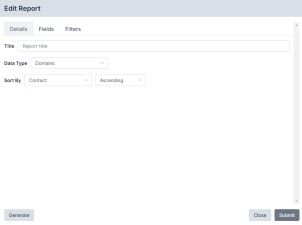
-
Click to submit your report edits.
Generating a Report
You can generate reports to view device data suited to your report's selected fields.
To generate a report:
-
Click the Reports (Information > Reports) tab and select the checkbox next to your report to generate and click .
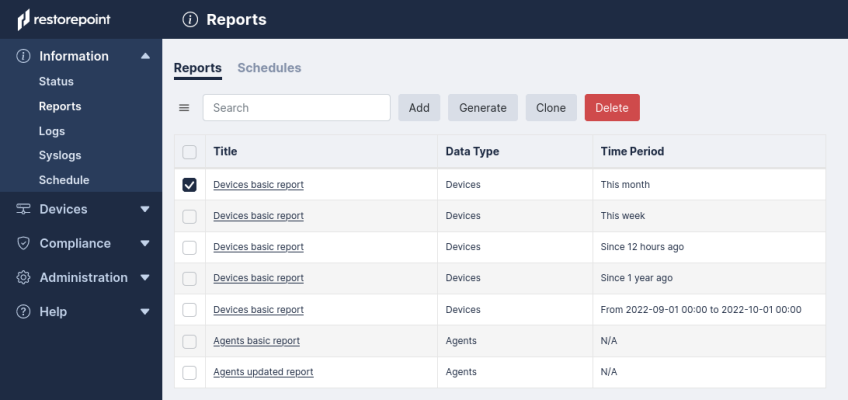
-
The Generate Report modal appears. Select your report's Format.
Reports can be produced in these formats: CSV and PDF.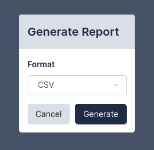
-
Click to view the report in your selected format.
Cloning a Report
You can clone existing reports to add a new report that is similar to another.
To clone a report:
-
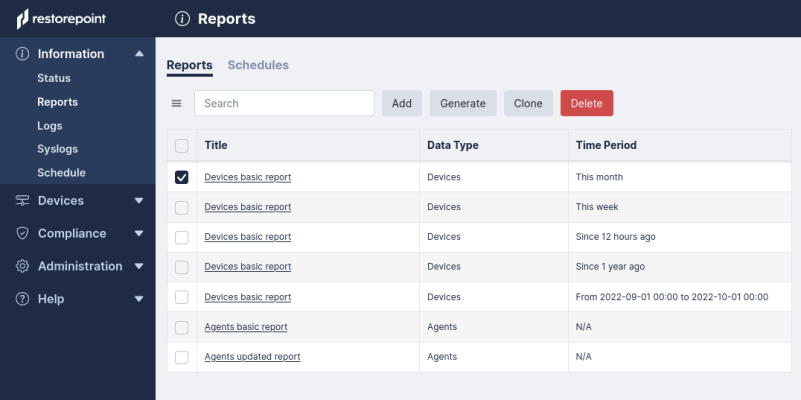
Click the Reports (Information > Reports) tab and select the checkbox next to the report you want to clone and click .
-
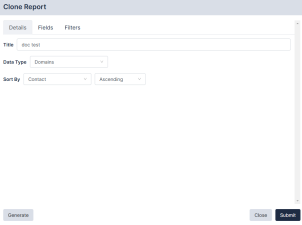
The Clone Report modal appears. Complete the following fields:
-
Click to finish adding the clone report.
Adding a Report Schedule
You can schedule reports to run automatically at a selected time. Every schedule requires a minimum of one email or fileserver to be set.
To add a scheduled report to run automatically:
- Click the (Information > Reports > Schedules) tab.

- Click Add.
- The Add Schedule modal appears. Complete the following fields.
- Every [Number] [Time increment] at [Number]. Enter your report schedule's run frequency.
- Fileserver. Select your fileserver.
- Emails. Enter the email address(es) that will receive the report.
- Format. Reports can be produced in these formats: HTML, CSV, PDF, and XML.
- Reports. Select a report to test.
- Click to complete your new report schedule.
Editing a Report Schedule
You can edit existing report schedule to reflect any schedule updates that come after creation or perform additional schedule functions.
To edit a report schedule:
-
Click the (Information > Reports > Schedules) tab and select your Schedule Title from the Schedules list to edit that specific schedule.

-
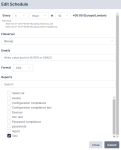
The Edit Schedule modal appears. Update the fields you want to edit.
-
Click to submit your schedule edits.
Deleting a Report or Report Schedule
You can delete existing reports, or report schedules, from their respective lists.
To delete a report or report schedule:
-
From either the or tab, select the check-box next to your report(s), or report schedule(s), to remove.
-
Click . The selected report(s) or report schedule(s) will no longer appear in the list.
Viewing Old User Interface Reports
You can view old Skylar Compliance user interface reports that have been migrated over from the old user-interface.
Old user interface reports (Information > Reports >Old UI Reports) will be deprecated in upcoming releases. To prevent any data loss, you should migrate any old reports tot he new reports (Information > Reports). For more information, contact ScienceLogic Support.
To view old reports:
